
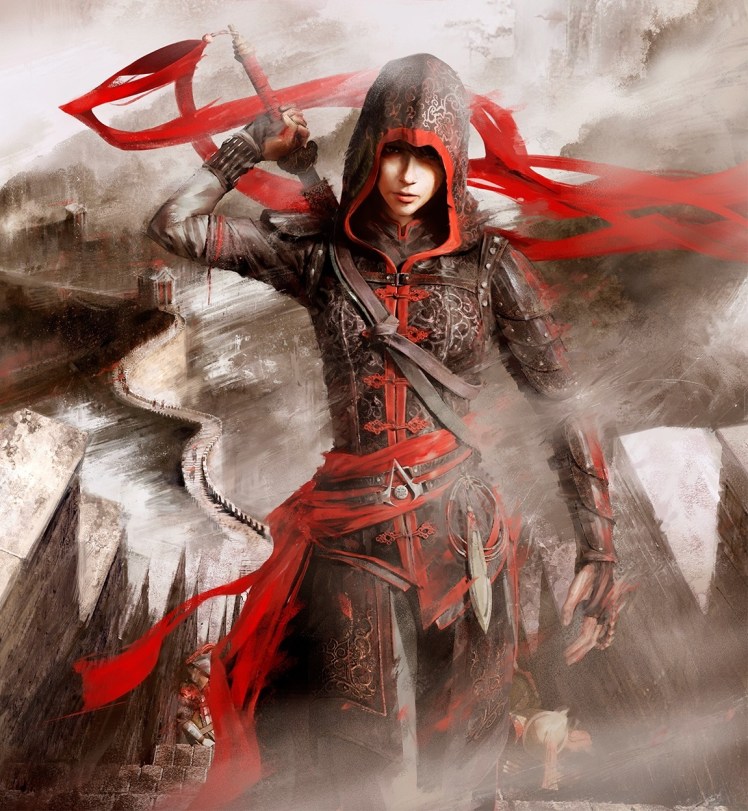
Assassin’s Creed costume designs are marked by two iconic elements: 1) a dramatic hood and 2) a belt buckle in the shape of the Assassins’ insignia, a stylized “A” or blade point or something similar to the Freemasons’ logo (another organization intertwined with the legend of the Templars).
In contrast to Ezio’s opulant belt that covers his entire abdomen, Shao Jun’s is subtle and elegantly simple. In fact, to those not looking for it, she does a good job of hiding allegiance to the Brotherhood in plain sight.
If you are cosplaying Shao Jun, your belt will be relatively easy to make. Tutorial and template after the break.
Insignia
Supplies:
- Sharp scissors
- Small X-acto knife (be sure to use a fresh blade)
- Craft foam (2mm – 6mm thickness)
- Worbla (enough for two layers + extra)
- Heat gun or hair dryer
- Burnisher or sculpting tools or bone folder (or all of the above)
- Self-healing cutting mat (optional)
- Metal D-rings (about 1-inch to 1.5 inch wide)

Below is a template I drew by hand based on the two main pieces of concept art. I estimated its size based on its proportional relationship to Shao Jun’s body. I decided it looked about as tall as her fist grasping her sword (above). I say this because there is no exact printer scale in the template below. Do a test run with paper and see how it looks on your body then scale up or down in your printer properties until you are satisfied with its relative size to you.

Before you cut out the craft foam, change the blade on your precision x-acto knife. Dull knives will catch foam and give you a rough edge. You want these edges as smooth and crisp as possible because it will help keep the edges of the worbla crisp as well.
Cut out two pieces of worbla that are larger than the insignia — you may need to heat the worbla slightly to make it easier to cut.
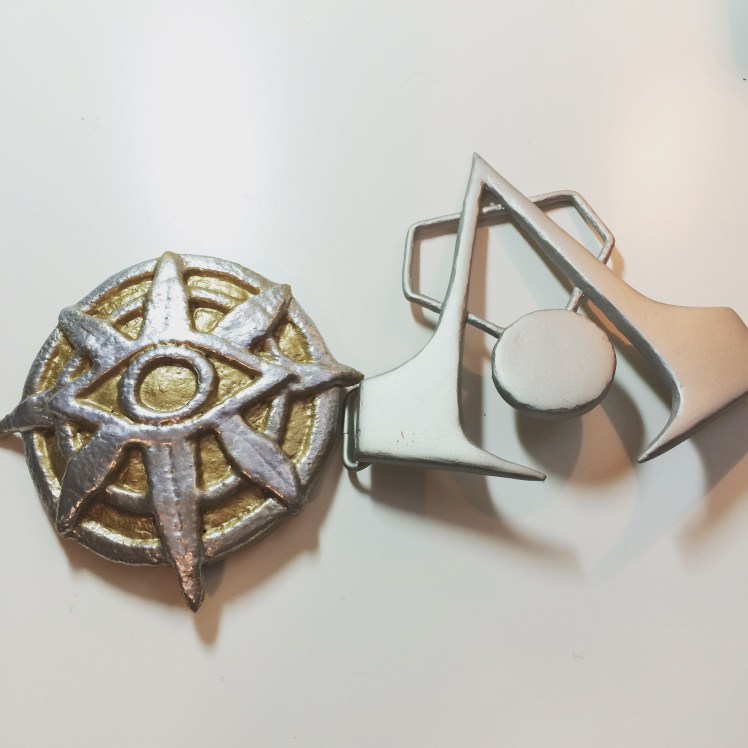
Sandwich the craft foam between two layers of heated worbla and use a burnisher, sculpting tools, or bone folder to define the edges of the craft foam. Heat a bit more and use a pair of sharp scissors to cut out the insignia — the scissors essentially seal the two layers of worbla together. If you notice it is getting harder to cut, heat it up again. Repeat until you have both pieces cut out.
Use the scrap worbla left over to make the “metal bar” behind the insignia. Heat and roll into a snake — just like we used to do with playdoh as kids. Keep heating and rolling on a flat surface until it is the width you want. **Don’t make this too thing — remember that this will have the belt straps wrapped around it, so it needs to be able to handle some amount of stress.**
Worbla self adheres when it is warm, so heat up the bar to shape it and attach to the back of the insignia.
Before you attach the D-rings, heat up the entire insignia and place it on a uniformally curved surface (like a water heater or a 5-gallon plastic bucket), this encourages the insignia to follow the curve of your stomach.
Attach two metal D-rings with worbla scraps to the bottom of the insignia (back side).
Now you are ready to prime and smooth with gesso.


Worbla has a rough texture. This belt buckle is likely meant to be metal and I wanted it as smooth as I could manage. I like to use gesso (the stuff you use to coat canvases for painting). If you think you want to use a different material, there are a bunch of videos and tutorials out there regarding priming worbla for painting, so I am not going to repeat the many options here.
In total I think I applied somewhere between 5 and 10 coats of gesso, sanding in between coats with 150, 200, and 300 grit sandpaper. I would sand and paint a layer of gesso before work and again before bed, essentially ensuring I completed the smoothing within a few days.
This ultimately is the smoothest worbla creation I’ve made yet.

I used a silver, semi matte spray paint. I didn’t want something too shiny and chrome (save that for the Fury Road cosplay), instead I used “satin nickel”.
Belt Straps
Shao Jun’s belt is made of two straps. One attaches to the bar upper bar and one attaches to the lower ends (where I put D-rings).

I cut two strips of vinyl/faux leather each 2.5 inches wide, with the length being about 4 inches more than my waist measurements. I folded the raw edges so they met in the middle on the back side of the belt and stitched two lines with my machine to keep the raw edges hidden. I apologize that this may be hard to see.

One side of the belt is permanently sewn in place, the other side is adjustable, and because I ran out of time was secured with safety pins. Eventually I’ll use snaps to keep the belt secure.


Red Sash
While we are focused on the waist area, I’ll also touch on the red sash. The sash is double layered and measures 6 inches wide. Its length is equal to 30 inches (the distance that hangs loose from my hip to my ankle) plus double the circumference of my waist (so it can wrap around my waist twice before being pinned in place).
Check out the other posts in the Shao June Costume Chronicles series:
- Hooden Coat, Tunic, and Leg guards (coming soon)
- Arm craft foam armor (coming soon)
- Accessories – bag, rope dart, leg wraps (coming soon)
- Reference and shopping guide

Wow, this looks really involved but the final effect is stunning. Xx
Thank you. Before I learned of worbla the cosplay armor and props seemed waaaay out of my league. They do require patience and work but I can understand the process better now.