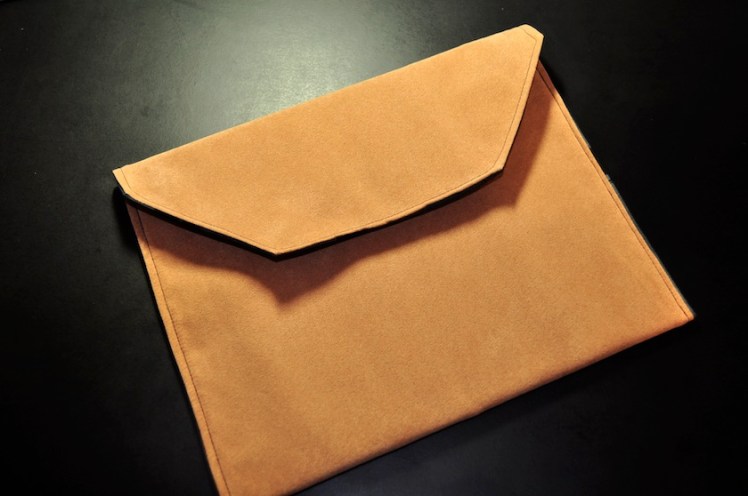
During my 2011 Christmas handmade gift blitz, I made an iPad slip case.
I used the tutorial provided by Dixie Mango. I found this project in Tip Nut’s list of 40+ DIY iPad and Kindle cases. If you haven’t checked out Tip Nut, it is a great source for a wide range of DIY project and craft ideas (Tipjunkie.com is another resource). Both sites link to outside blogs; like a yellow pages for craft ideas.
I chose to attempt Dixie Mango’s design for two reasons: 1) the envelope shape was simple and straightforward, and 2) I wanted to make something that could be used to protect and carry the iPad without being too bulky or drawing too much attention. There were some designs (by other creative bloggers) that provided a foldable support stand or a book-like cover, if that is what you are interested in.
I used a former microsuede curtain (acquired from my boyfriend’s mom) as the exterior, a layer of canvas for support, and an awesome dragon print for the inside lining. (We do play Dungeons and Dragons here, after all.) I hoped that with the suede-like appearance, this case would be discrete in a work or Ren Faire setting, should the bearer of the iPad wish to tweet during the jousting match. If you recall, the microsuede curtain was part of the Thanksgiving weekend fabric haul.
The dragon fabric was a serendipitous find at the Northgate store of Pacific Fabrics & Crafts. I overheard another a customer and a sales associate as they were looking through a drawer of fabric remnants, I overheard them say “dragon fabric”. They were actually referring to the colorful dragon print on the left (“Tale of the Dragon”). I picked up the final yard of this fabric (I think I have a plan for it…just wait and see) and during my small chat with the sales associate, she mentioned that this fabric designer (Alexander Henry Fabrics Collection 2010) had another dragon print. She showed me the “dragon silhouette” and I fell in love even more, so I picked up a couple yards.
I recommend looking through Dixie Mango’s tutorial. Her instructions are clear and her photos show how you should be progressing. The pattern is also scalable, meaning it can be increased for a laptop case or shrunk for a smaller e-reader or tablet device. The only changes I made to her design were:
- Selecting canvas instead of interfacing for the internal stiffness (because I had canvas left over from my corset class, and I was trying to save money on new materials); and
- Clipping off the point of the “envelope” flap, for stylistic preference reasons.
I had the most difficulty with ensuring the exact location of the velcro (and I still was a little off) and topstitching the edges to secure the case. My needle had to go through 4 layers of fabric and 2 layers of canvas for the final steps. It was almost too much for my machine. I tried using a thicker denim needle, but that left big holes in the fabric and didn’t really help me (or my machine) power through the stitch. Ultimately, I just turned the knob on my machine to advance the fabric and move the needle up and down.
Even though that final step took a while, I still completed this project in a day (while the recipient was out of the house playing D&D). And for only the cost of the the velcro and the dragon fabric.


