
I had hoped to have a completed coat of armor done last weekend, but this garment is proving to be more time consuming than I thought.
Let me show you what I have so far and walk you through my process for getting here.
Garment Shape and Structure
It is highly likely Bioware will release a character kit for Leliana, as they have with Varric, Morrigan, Vivian, and Sera. Until then those of us working on Leliana for PAX or DragonCon have some pretty fantastic promo images and a whole game-play demo “Redcliffe Castle” that features Leliana heavily. (Minor game spoilers if you watch.)

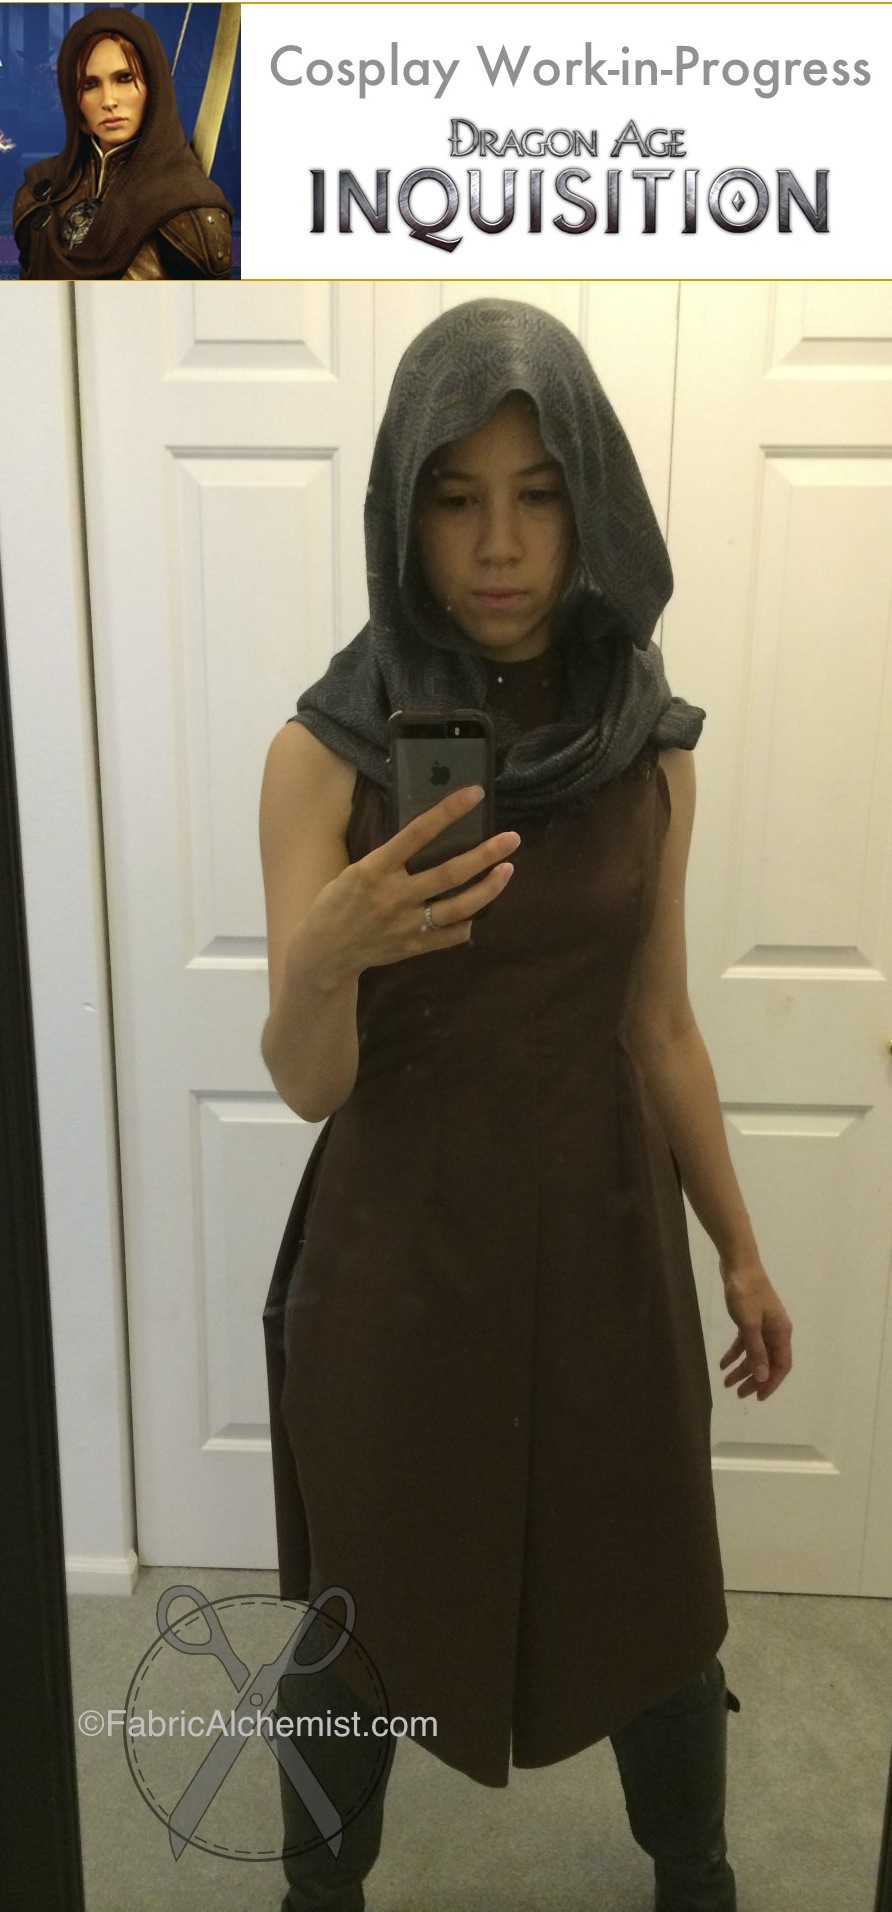
Leliana’s coat of armor is a knee-length robe made of mail and leather. The leather trims the edge of the mail panels and is used in a medium-high collar. The coat appears fairly fitted, especially around the bust and high waist. I have never worn real mail, but I have a sneaking suspicion that something this fitted would have restricted movement a bit. However, we are in video game fantasy land and I am thrilled that Leliana has practical, full armor coverage.
The decorative trim or piping between and around each panel of mail leads me to believe that her attire is equally ceremonial (being the Left Hand of the Divine) as it is protective. This is a finely made garment—one that occasionally gets covered in blood.
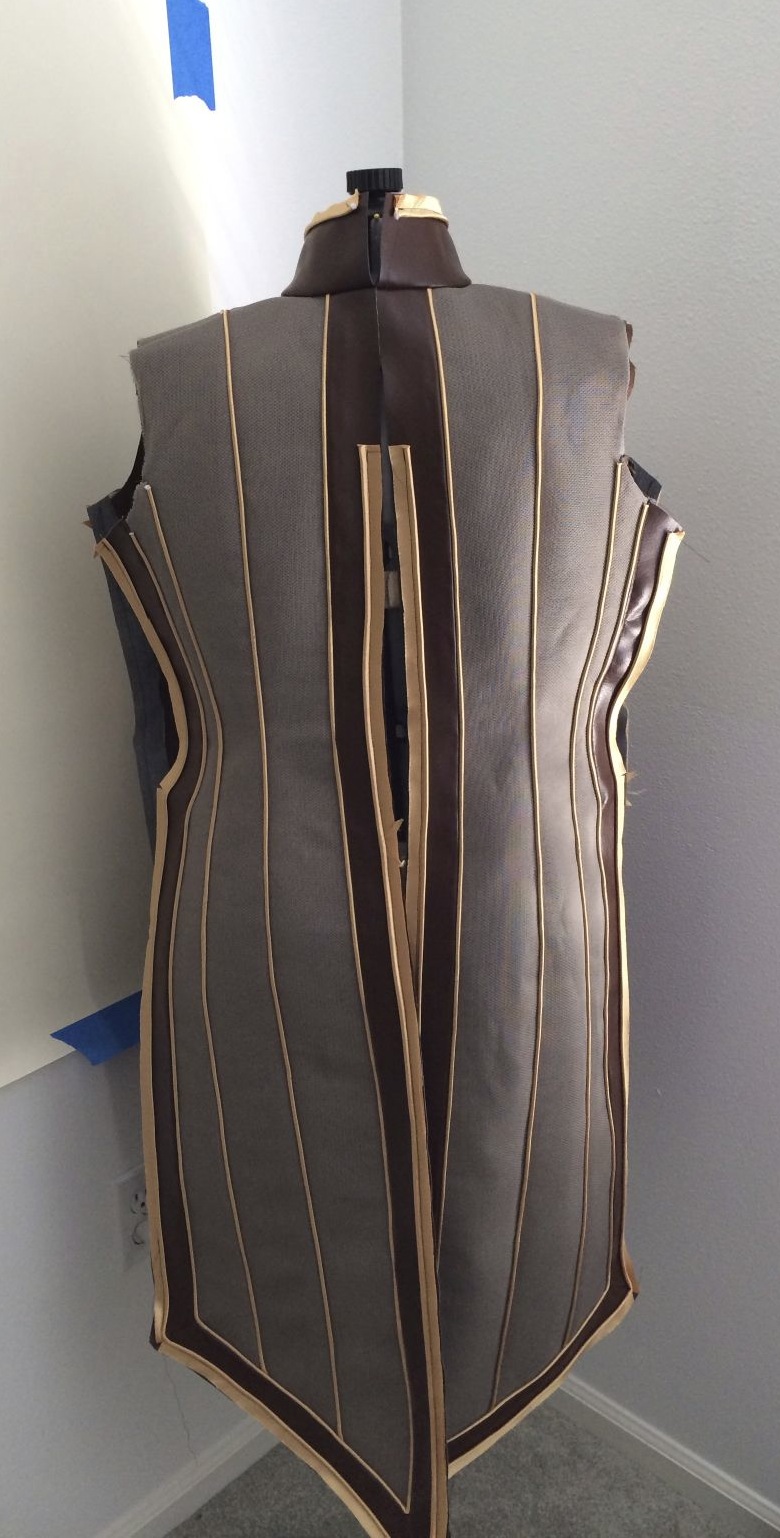
The back tails of the coat are wider than the front. The back has 3 panels of mail, compared to the two front panels. For movement, the coat panels are free moving below the waist. I plan to only sew the side seams to the waist, the center front seam to the crotch, and the back will have a 14-inch zipper or a lace-up back between the collar and the middle-back.
If you own a fitted dress or have a sewing pattern with a fitted bodice, trace that for the bodice portion of this coat, then from the waist line, draw straight lines to create the slightly flared panels. The actual width of these panels will depend on your own body measurements. The front panels appear to just hang straight from the waist, but the back pieces wrap a little around the butt and thighs.
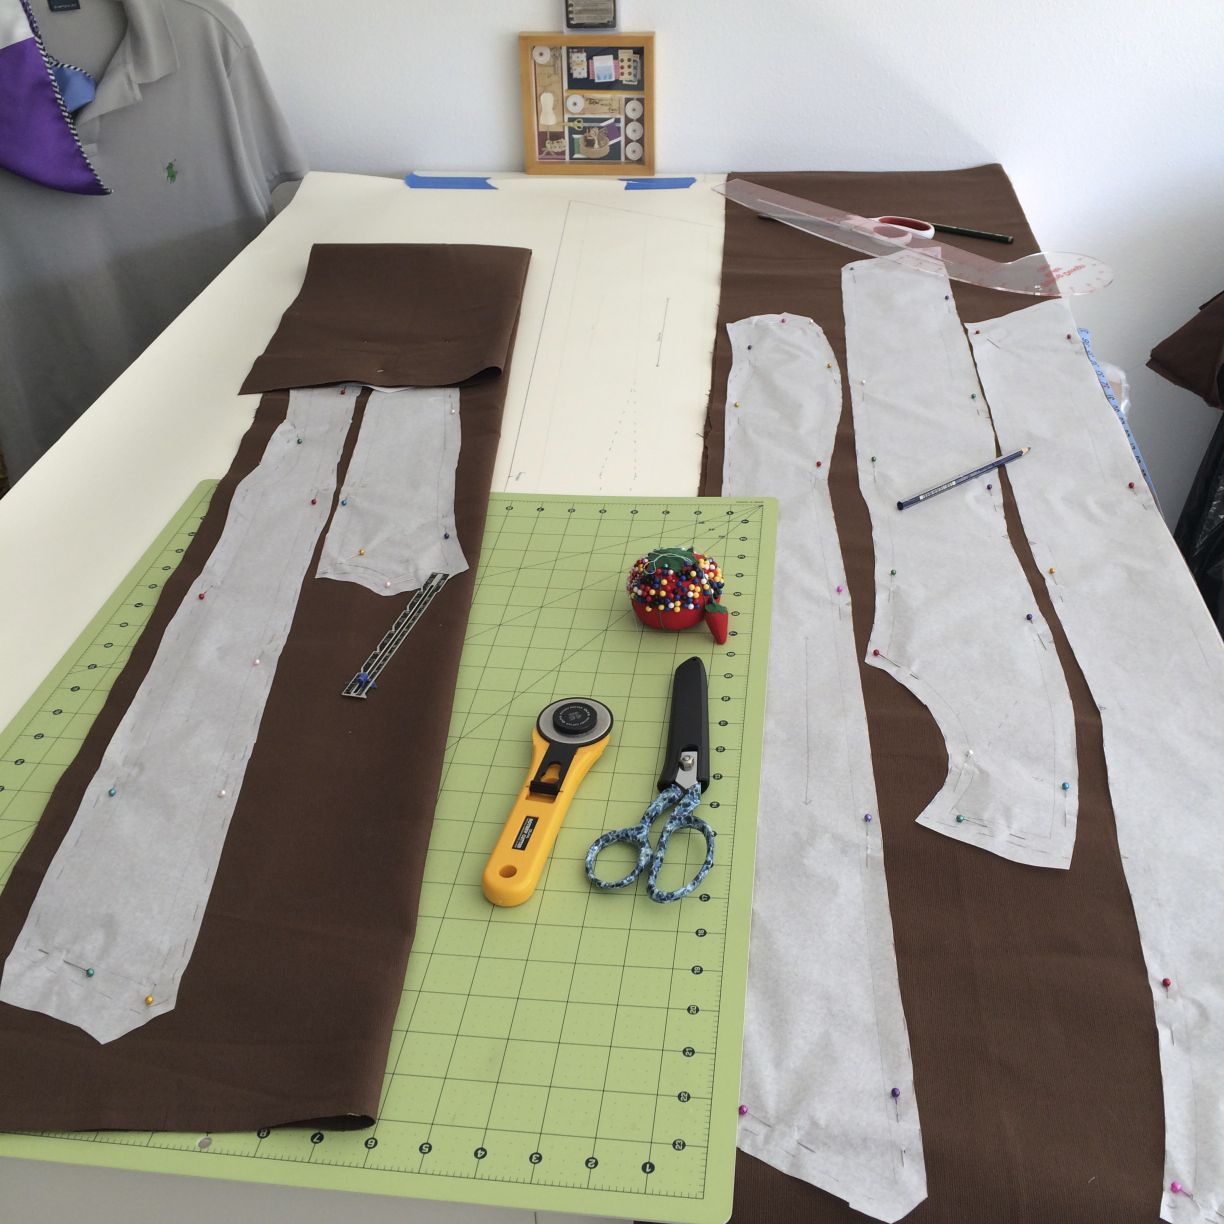
To draft this garment, I started with my Chinese chongsam dress. This dress had the right shape, a high collar, and side skirt slits. In tracing process I messed up the seam allowance and created a muslin that was too big. So I pinned it to my dress form and adjusted it, hand-basting the pieces into place and tried it on again. I ultimately removed nearly 4 inches from the front, sides, and back to get a right fit.
After fitting this muslin (which will be used as the inner lining of the tunic or a Jedi costume at a future date), I traced the pattern onto stiffer paper and drew in the panels and leather trim. The front panel became 5 separate tissue pattern pieces (each with a 1/2″ seam allowance), the back panel became 6 tissue pattern pieces. The collar is another two pieces (each half, with a zipper/lacing in the back).
Materials & Construction
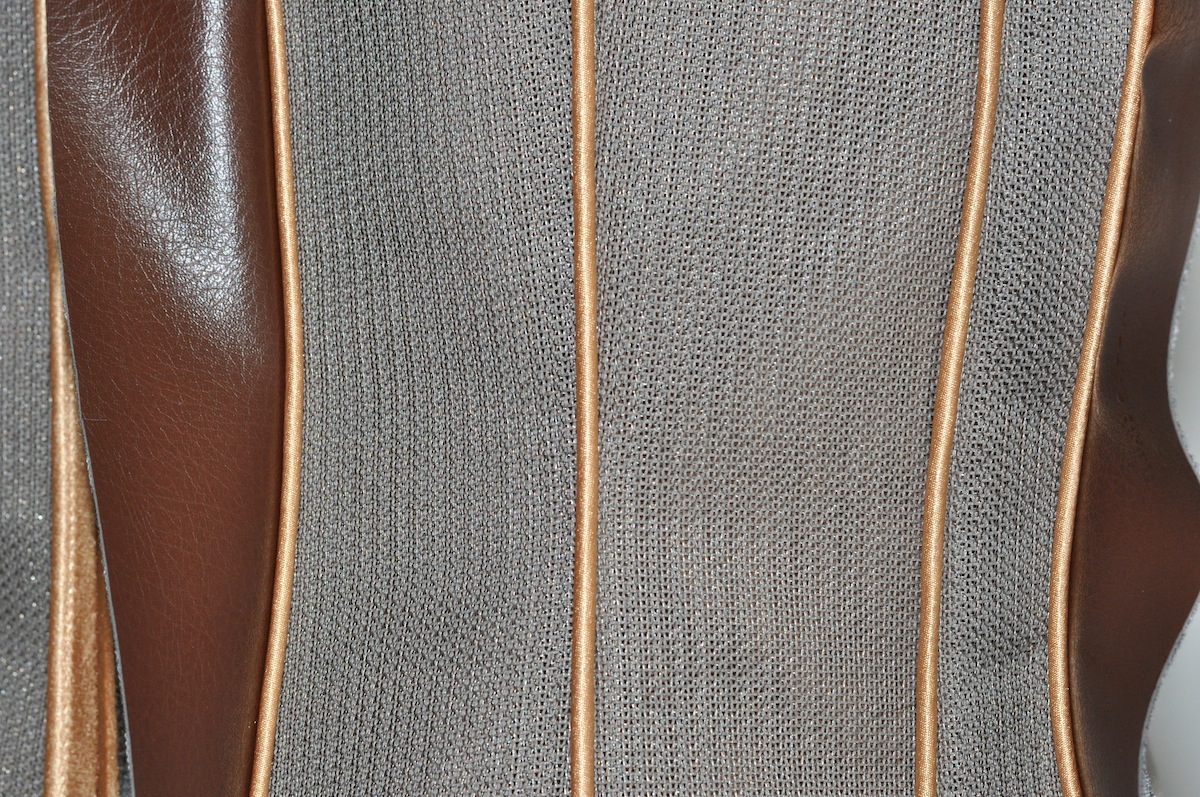
There are three distinct fabric types in this coat of armor. Mail panels, leather trim, and a decorative cording.
Mail: I bought a pseudo-chain mail fabric from Etsy ($13.95 per foot, 40″ wide). The links are not as large as I would have liked. The material is a thin wire knitted with silver thread. It has some latitudinal stretch and is quite flexible. From a distance, it looks like metal armor. My costume required about 4-feet of this material.
Some of you may be skilled in making mail with individual chain links. Knitting is also a solid option (it was used for Monty Python & the Holy Grail and extras in the Lord of the Rings). The garter stitch, when knitted on large needles like chain links. Some people use gray yarn, others spray paint the knitted fabrics with metallic paint.
For now I will construct the tunic with the chainmail fabric, but will consider knitting something for future costumes with chain mail. I layered this “chainmail” fabric over brown canvas (or duck cloth) for a darker color and for stiffness.
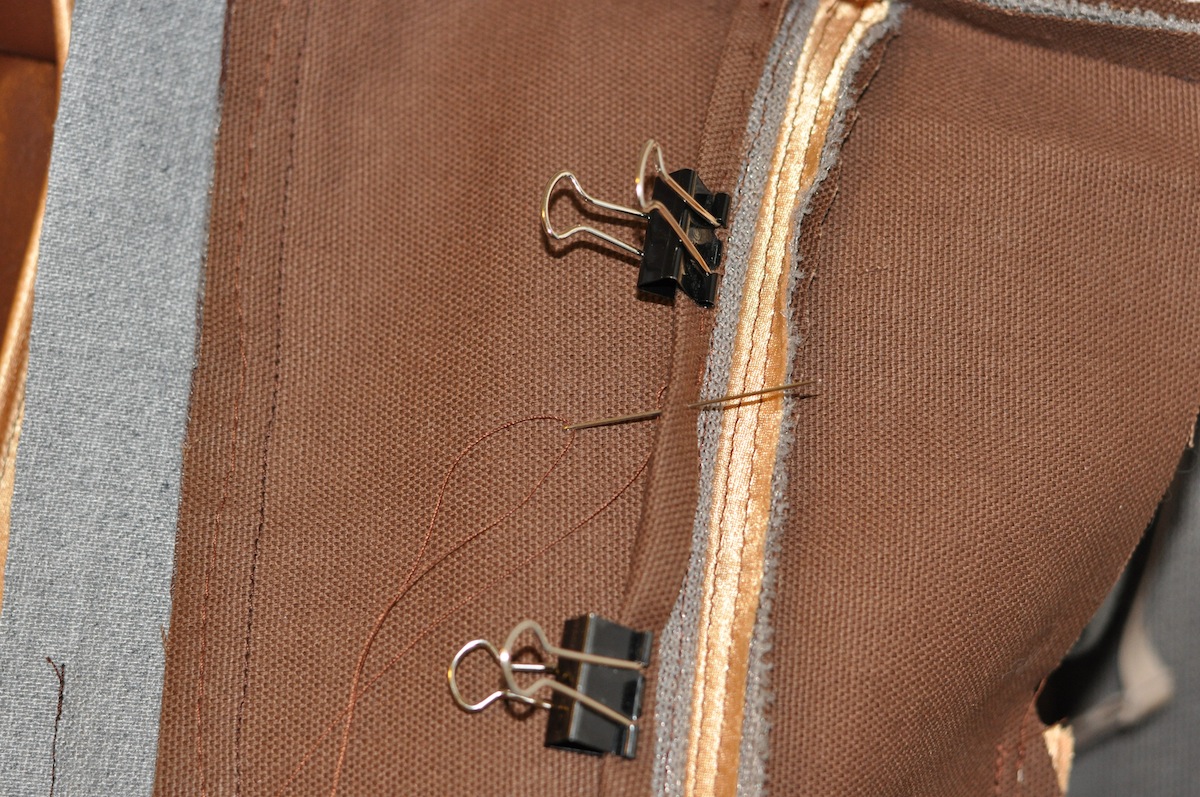
When working with this knitted wire fabric, I recommend cutting a larger seam allowance so that you can fold the raw edge under. I wish I had done this. Cutting this fabric produces lots of thin, sharp wires and I’ve been stabbed countless times. I think there is still a metal sliver in my thumb. (So cut an 0.75 inch seam allowance if you plan to sew 0.5-inch seam allowances, and fold 0.25-inch under. ) This will clean up your seams. I finished the seams with canvas “bias tape” to keep the raw wire edges from stabbing me the entire convention.
Decorative Piping: self-made with gold satin/crepe and 1/8-inch cording (19 cents per yard at Pacific Fabrics). I used these bias tape & piping tutorials from the Coletterie blog. I did not use the bias tape folding tool because when making piping you only need to fold the bias tape in half around the cording. I also recommend using a small stitch length (1 or 2) when piecing your bias tape together. The shorter the stitch length, the less visible these seams will be.


This detail piping looks off-white in some promo images and gold in others. I am not sure if it appears gold because of the lighting in that room, but I am sticking with gold because it looks good with brown. Even off-white or cream looked too pristine next to brown.
“Leather Trim”: Joann’s Fabric had a 50% off sale on upholstery fabrics. I picked up a yard and a half of a thin (aka: easy to fold) medium brown faux leather vinyl. I recommend piecing together all three sections of the faux leather trim before sewing them to the main panels.
With canvas, metal fabric, and faux leather, the seam allowances have become quite thick. To hold them in place I tried topstitching, but I did not like how it looked. The remaining seam allowances were glued to the faux leather trim with fabric tack glue.
Work in Progress
I am satisfied with the progress so far. The canvas is giving the garment a good stiffness. The metal fabric does crease very easily, so I have concerns about how I will sit in it.
I did discover that all my 1/2″ seams had some slight slippage between each panel and the garment ended up being 4-inches too big. So I need to go back and redo some of the seams. This is incredibly frustrating and is setting me back even further.

This is looking amazing so far! I had no idea there was such a thing as chainmail fabric, by the way, so I will store that information away for potential later use. I am with you on setbacks – Nasus is taking longer than it should for me, too. What did you use for the hood in your photo?
The hood in the photo was just a scarf a friend brought back from Ecuador. I think it is a thin alpaca thread. I purchased a used curtain for the real costume hood.