
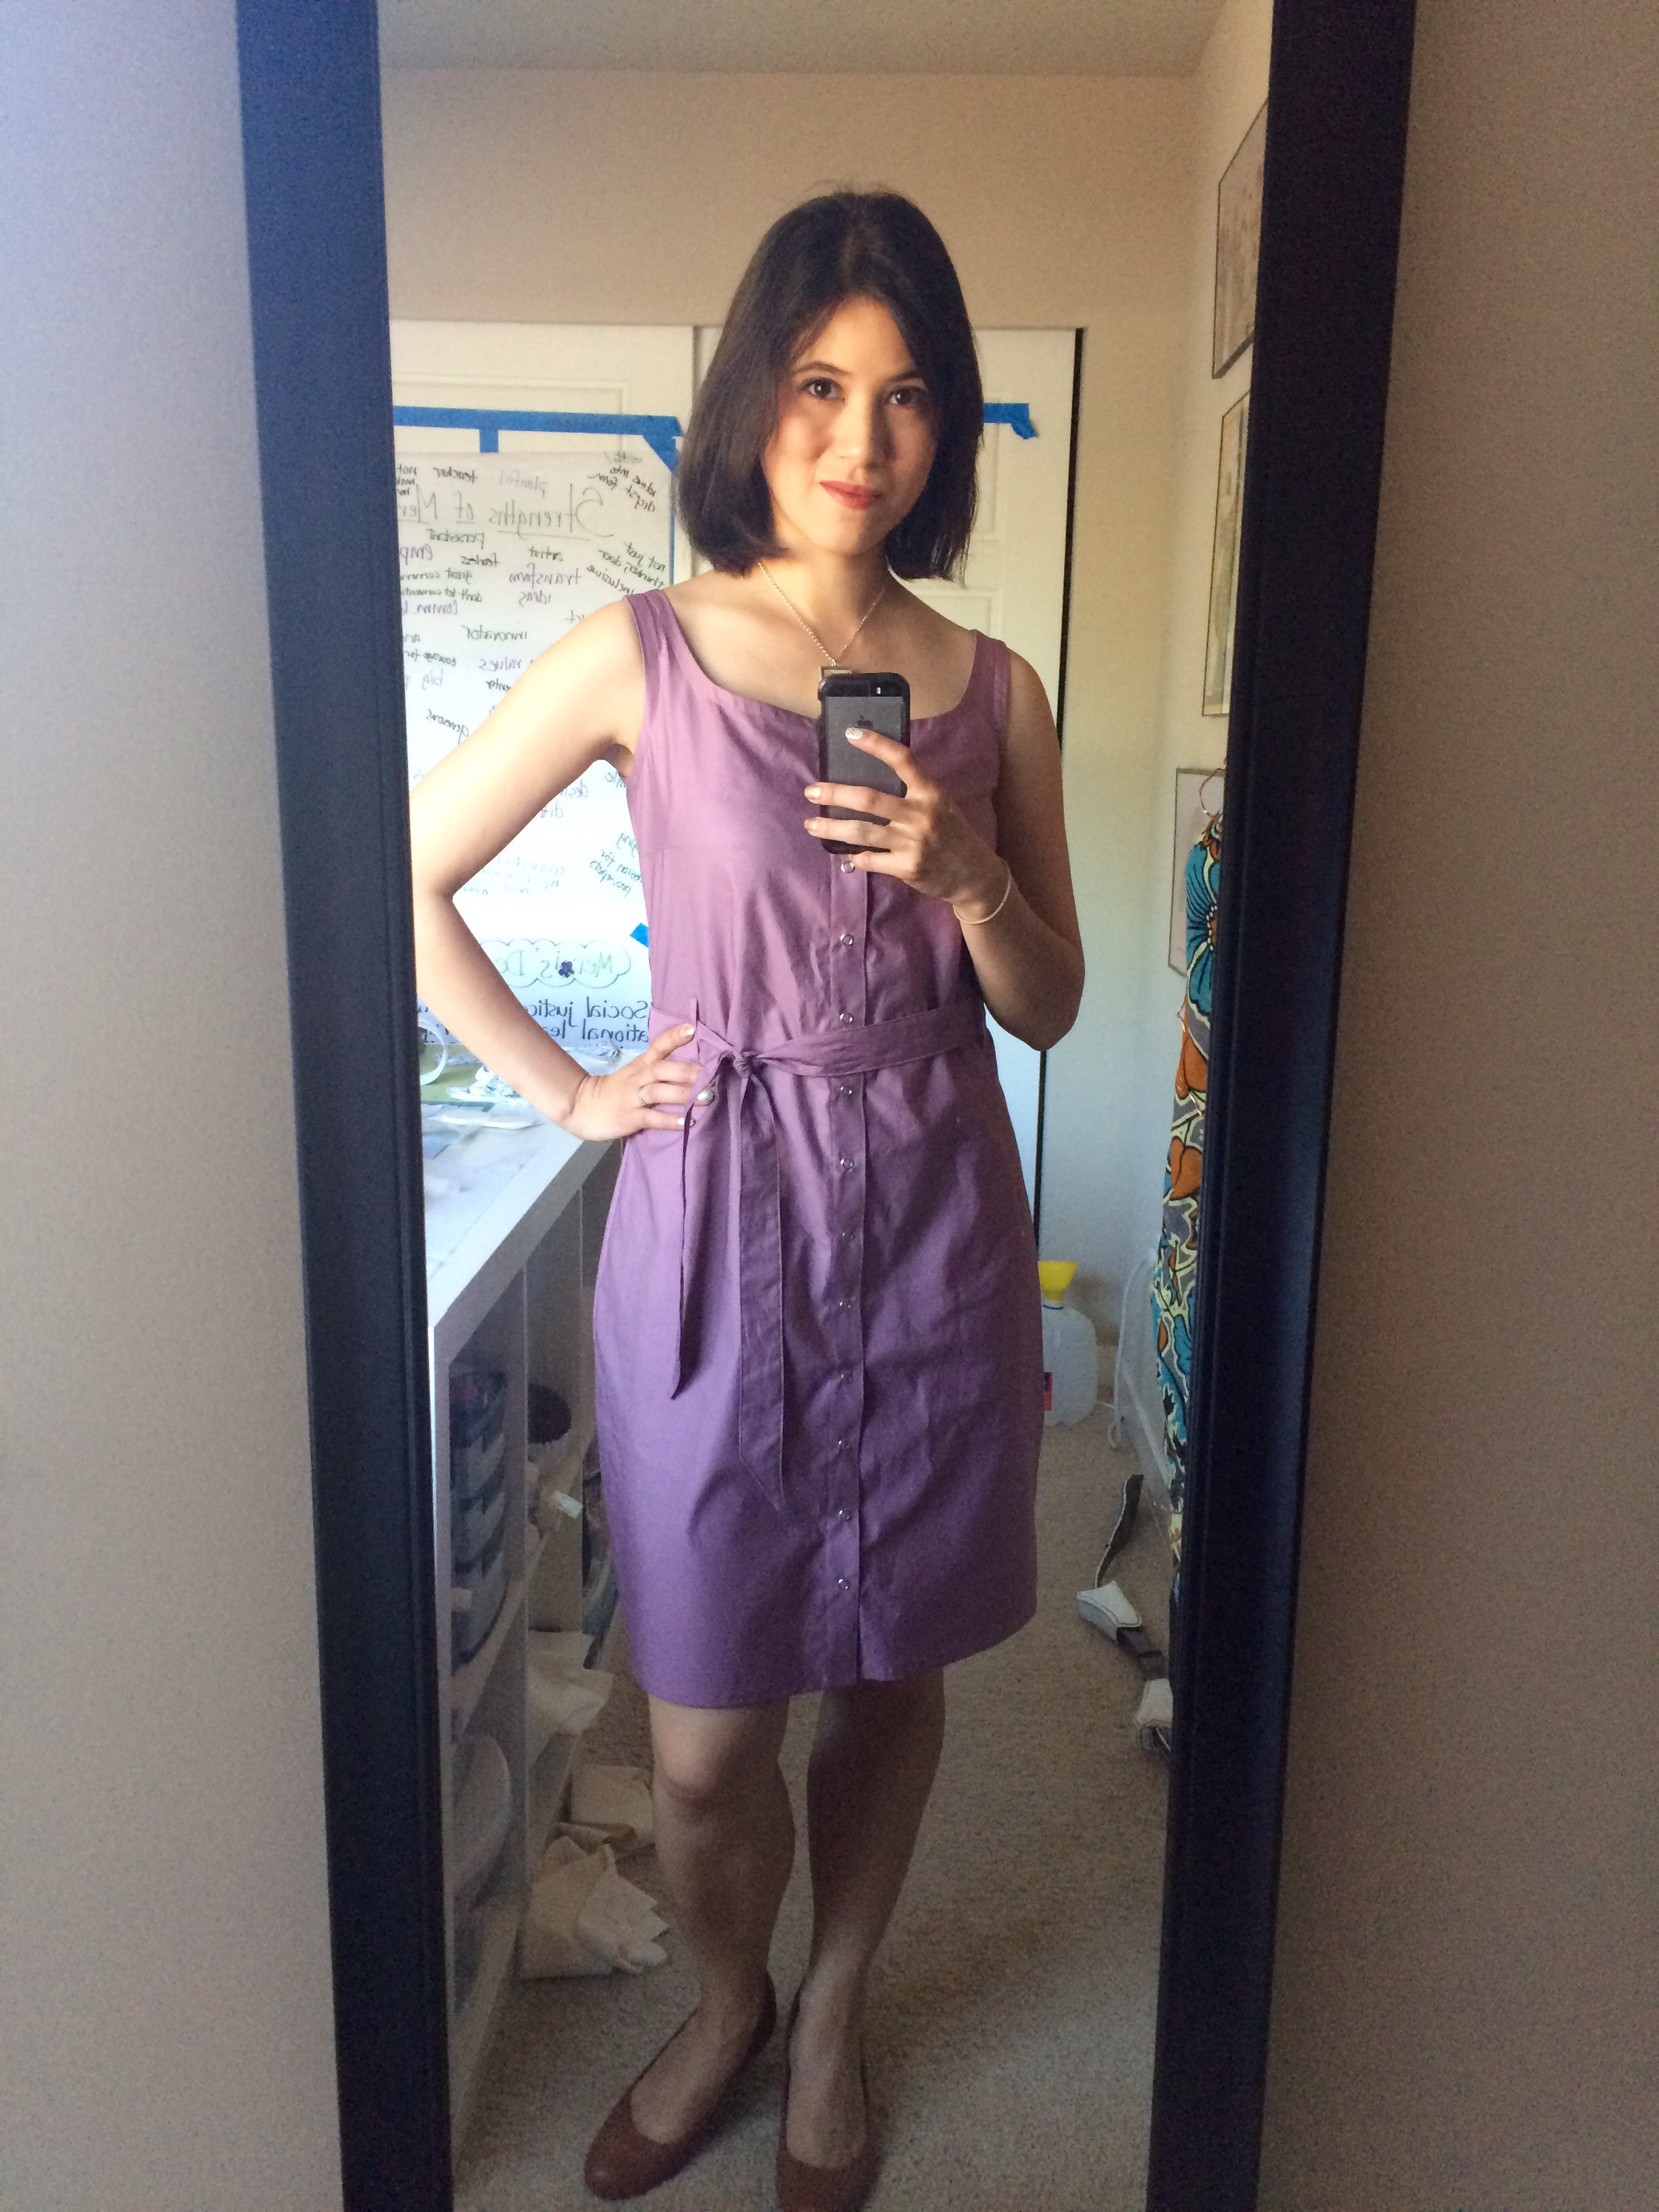
Me-Made May 2016 kicks off with my newly completed dusty rose Adelaide dress!
Seamwork Magazine debuted the Adelaide pattern one year ago in the May 2015 Color Issue. The dress is a simple design, yet it has many opportunities for customization. None of which I took on this first pattern test. In some ways, one could look at this as a wearable muslin. I combined a fabric languishing in my stash with a pattern I owned but wasn’t deeply in love with (yet). Now that I’ve made the dress, I see where it can be improved in version 2.0.
Materials
- The fabric is a stretch cotton that I’ve had in my stash for a little over two years. This fabric was purchased for a fitted blouse that would pair with a denim pencil skirt. Neither were made. Though, the denim remains in my stash. Maybe I’ll use it for a Selene-inspired skirt.
- I can already tell…it wrinkles easily.

- Given that Adelaide debuted in the color issue alongside articles about selecting your color palette and dyeing fabrics, I think I missed an opportunity with this dress. I like the color well enough, but looking at the other Adelaides out in the world, I think this dress is better in a print fabric – The dress itself is a simple design and a print would be more interesting and would conceal the wrinkles better. Either a print, or a woven fabric with a bit more drape and texture (linen or chambray).
- I just learned about Sanshiki, the art of mending. Equally inspired by Morgan’s desire to add personal touches and details to each garment. I may revisit Adelaide after wearing it a few times to add a little embroidery to the belt or the neckline.
- This was my first time installing snaps. It was a good learning experience. I like snap. I would have liked to find a pearlized snap set, but I couldn’t find any size 14.
Construction
- I struggled attaching the belt loops. Maybe my needle was dull, or the bobbin was getting loose, or the dog feeds weren’t catching well. I had half of the belt loops catch and snag, the back side of the stitches is just messy.
- Also the length of my belt loops didn’t quite match with the marks on the pattern. This is a stretch cotton, so did the length of the belt loop stretch when I pulled it right-side out? I eye-balled the placement of the belt-loops and they appear to be level.
- The dress took me well over 3 hours, which is the suggested project time according to Seamwork. I think the snaps alone took 30 minutes.
- Because it took me so long to finish, I started cutting corners, at least in relation to the extra care I gave to Akita. (A difference I wholly attribute to the amount of money I spent on the fabric. I always imagined that this Adelaide would be a test run. I wasn’t sure I would like the dress’s fit and didn’t want to lose fabric to it.
Instructions
- Instructions were straight forward, perhaps a little sparse in some areas. I’m trying to figure out why the sash was cut with an inverted triangle rather than like an arrow point if you are going to fold it in half anyway. It was hard to cut out this way. If there is a design reason, given these patterns’ function as “ways to learn more skills” I’d love to understand the reason. I want to know why so that I can use this knowledge going forward with projects or patterns I design myself.
Fit
- Size 2 bust, size 6 hips, graded between.
- I wanted the top to be a bit more fitted, but it might be a bit too fitted (in light of recent weight gain).
- When I stand, there is ample room in the hips and butt. When I sit, there is a lot of tension of the hem, unless I remember to smooth the skirt before I sit.
How I wore it
I am wearing the dress to a Greek Easter celebration. I’m super excited to be wearing a me-made garment on the weekend!

Happy First Day of Me-Made May!
