
Astoria is a coastal town in northwest Oregon. My memories of it are gray, foggy, a little damp, and full of love because we visited with family friends. One of my favorite memories is the kids all sprawling on the grass at the base of a lighthouse pretending we had fallen from the observation deck, while our parents took pictures of us from the top.
There are other Astorias, but only one came to mind when Seamwork released this lightweight sweatshirt/long sleeve shirt pattern. I want a shirt that can get me through the moderate Pacific Northwest seasons, either as a top layer or an under layer.
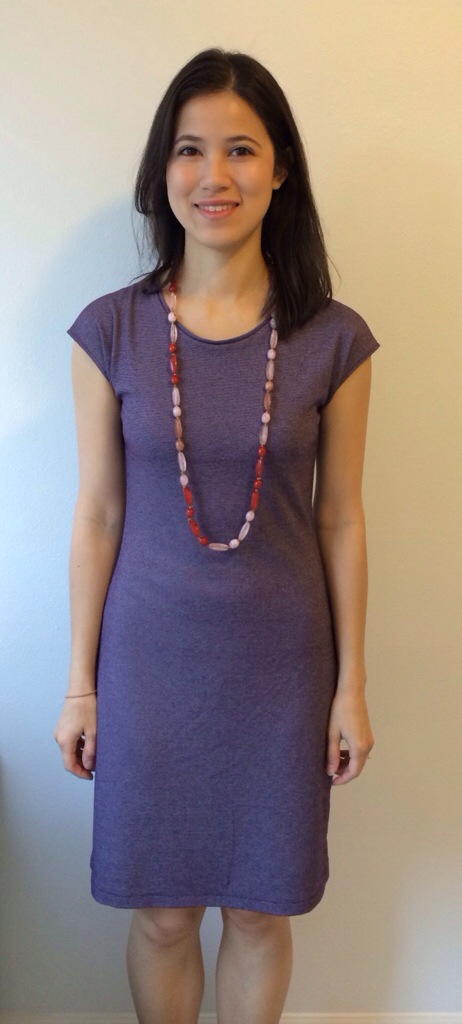
I really liked the look of Astoria and Catarina paired together – a cozy fitted top paired with an ethereal dress. This photo convinced me to make both a Catarina dress and an Astoria sweater.

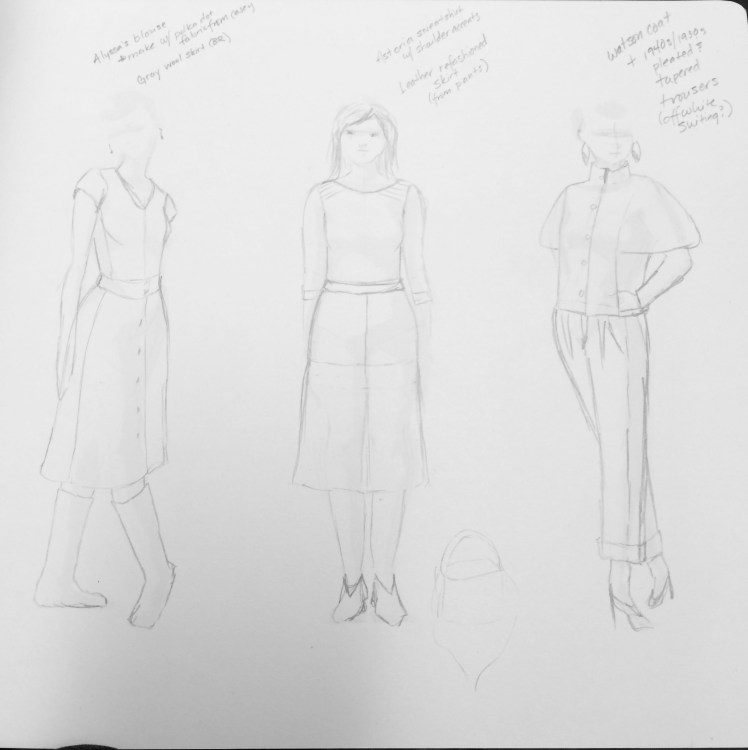
I already had a yard of gray french terry from Drygoods Design, another impulse purchase from the discounted remnant bins. Even though the gray is a rich cool gray, I already own quite a few solid gray shirts and sweaters. It wasn’t until I started doodling one afternoon on the bus commute home that I thought of a way to distinguish this shirt from the many other grays with some color-blocking at the shoulders.
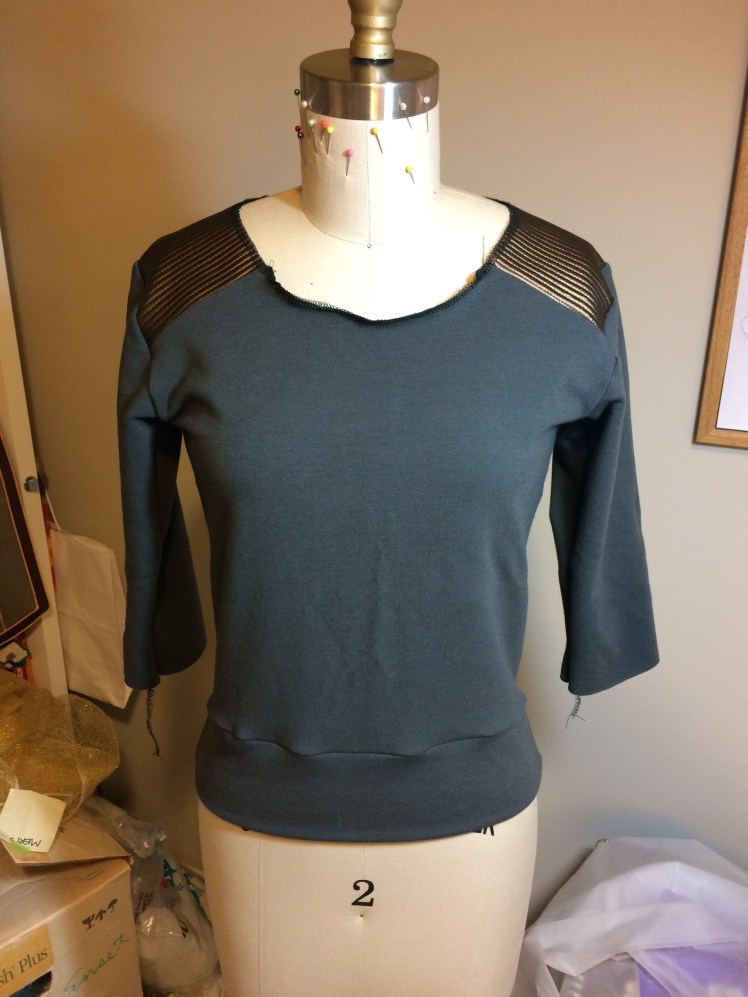
I knew the exact fabric I wanted to use – a stretch faux leather in a brown-copper color that I had used for a gold dragon-inspired costume this summer. It had the same plushness of the french terry and has golden undertones that contrast with the cool gray, while still keeping everything neutral. I’ll explain the color blocking below in the modifications section.


Construction:
The instructions provided by the Seamwork/Colette Patterns team were easy to follow. I used my serger for all seems except the collar and sleeve hems. As a knit shirt, it is forgiving if your seams aren’t exactly in the right place. I assembled this in a day, and only had to wait a few days to finish it because I didn’t have a thread color to match the gray knit.
Modifications:
Lengthening the bodice front and back two inches – I made this decision based on a sweater I knit that is a similar lenght to Astoria. I always wish I had added an inch or two to that sweater, so I did here.
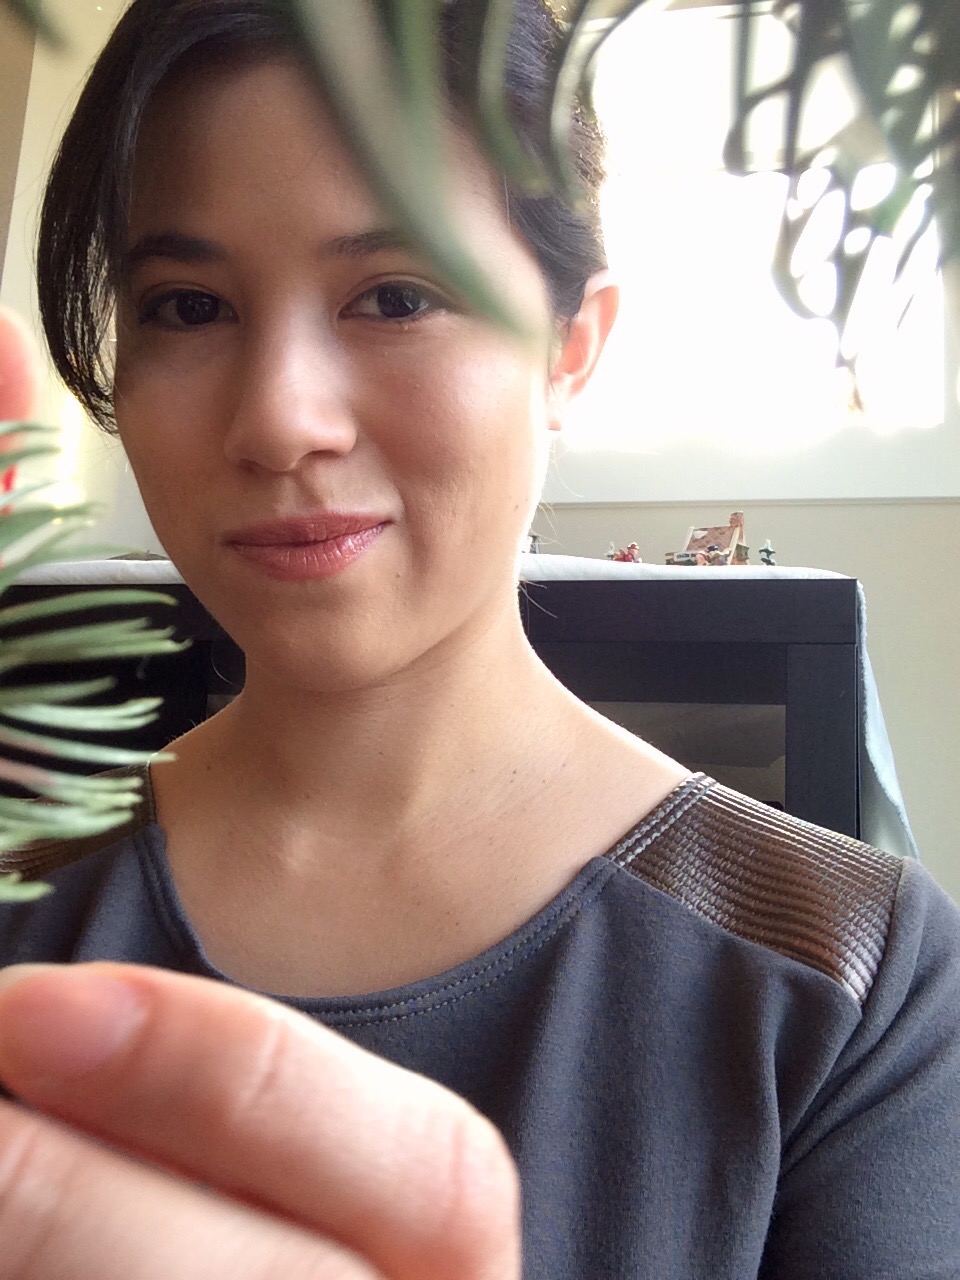
Lowering the front neckline to showcase my collar bone, a part of my body I love and I couldn’t hide. I used a self-drafted dress pattern for reference (see below). For those wanting to copy – the center front is two inches lower than the original pattern. I used my curve ruler to finish the curves.
I also opted to skip the neckband because when the color blocking was in place I preferred the clean edge of the main body fabrics.
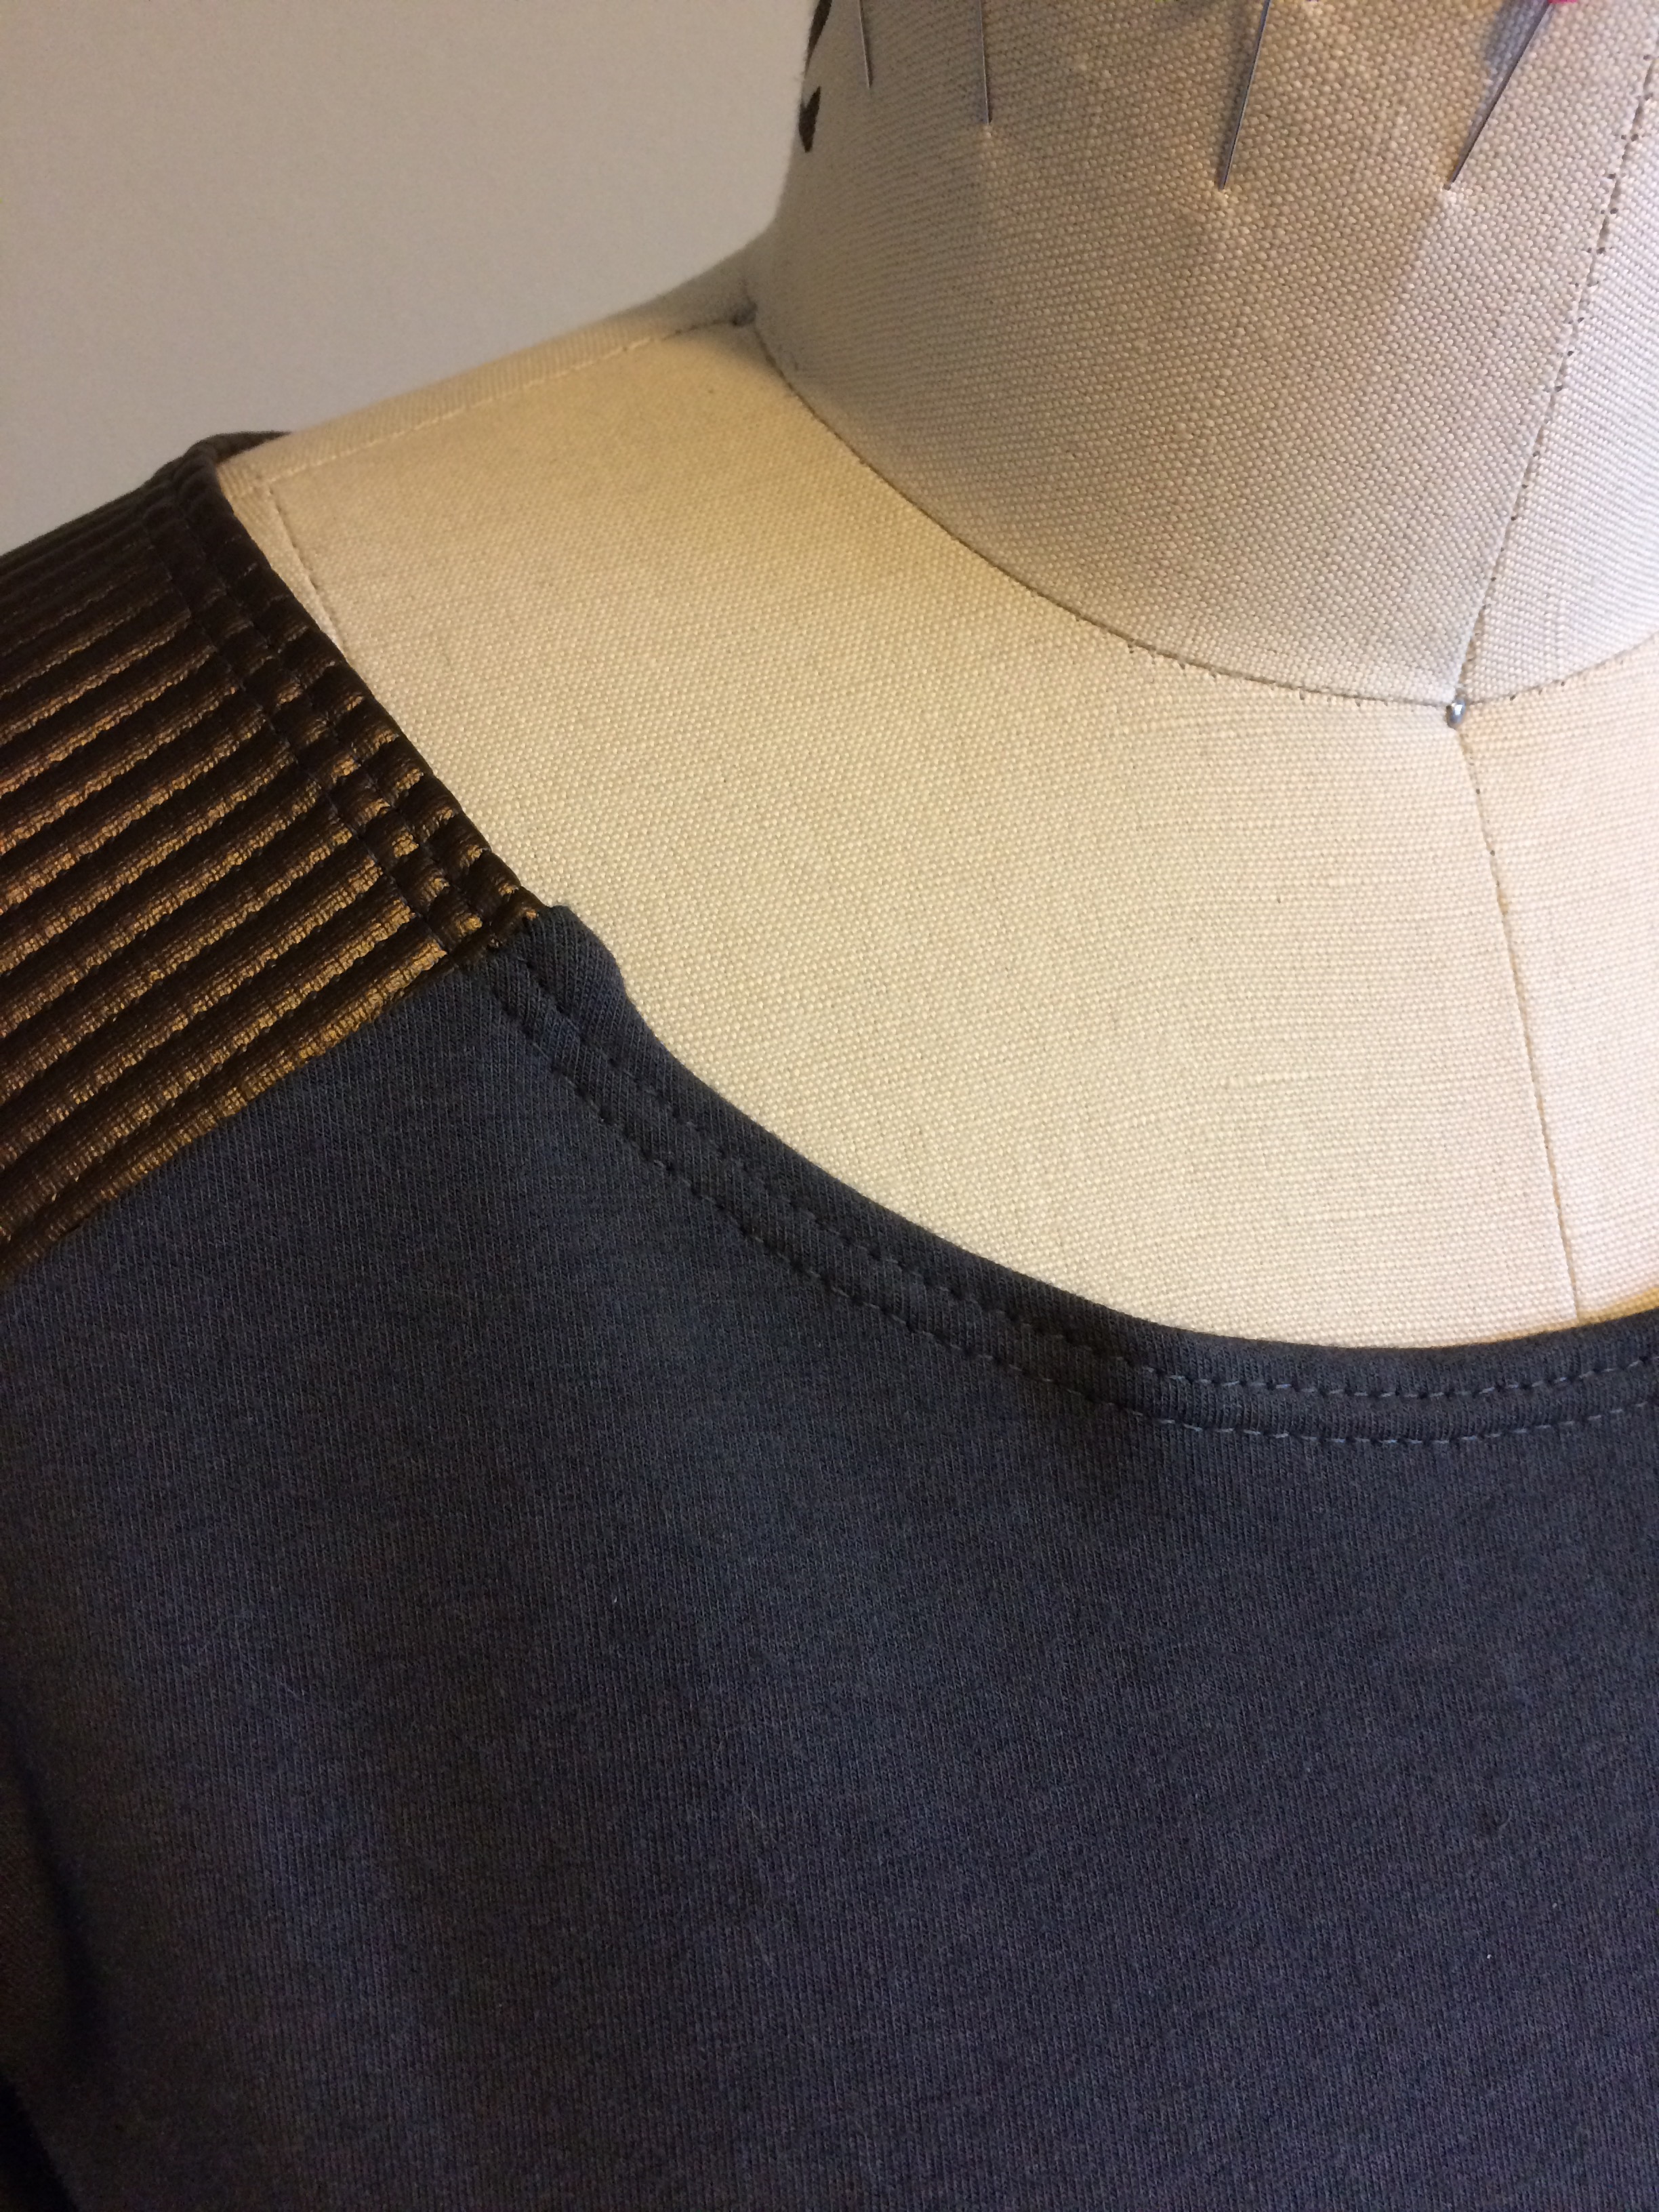
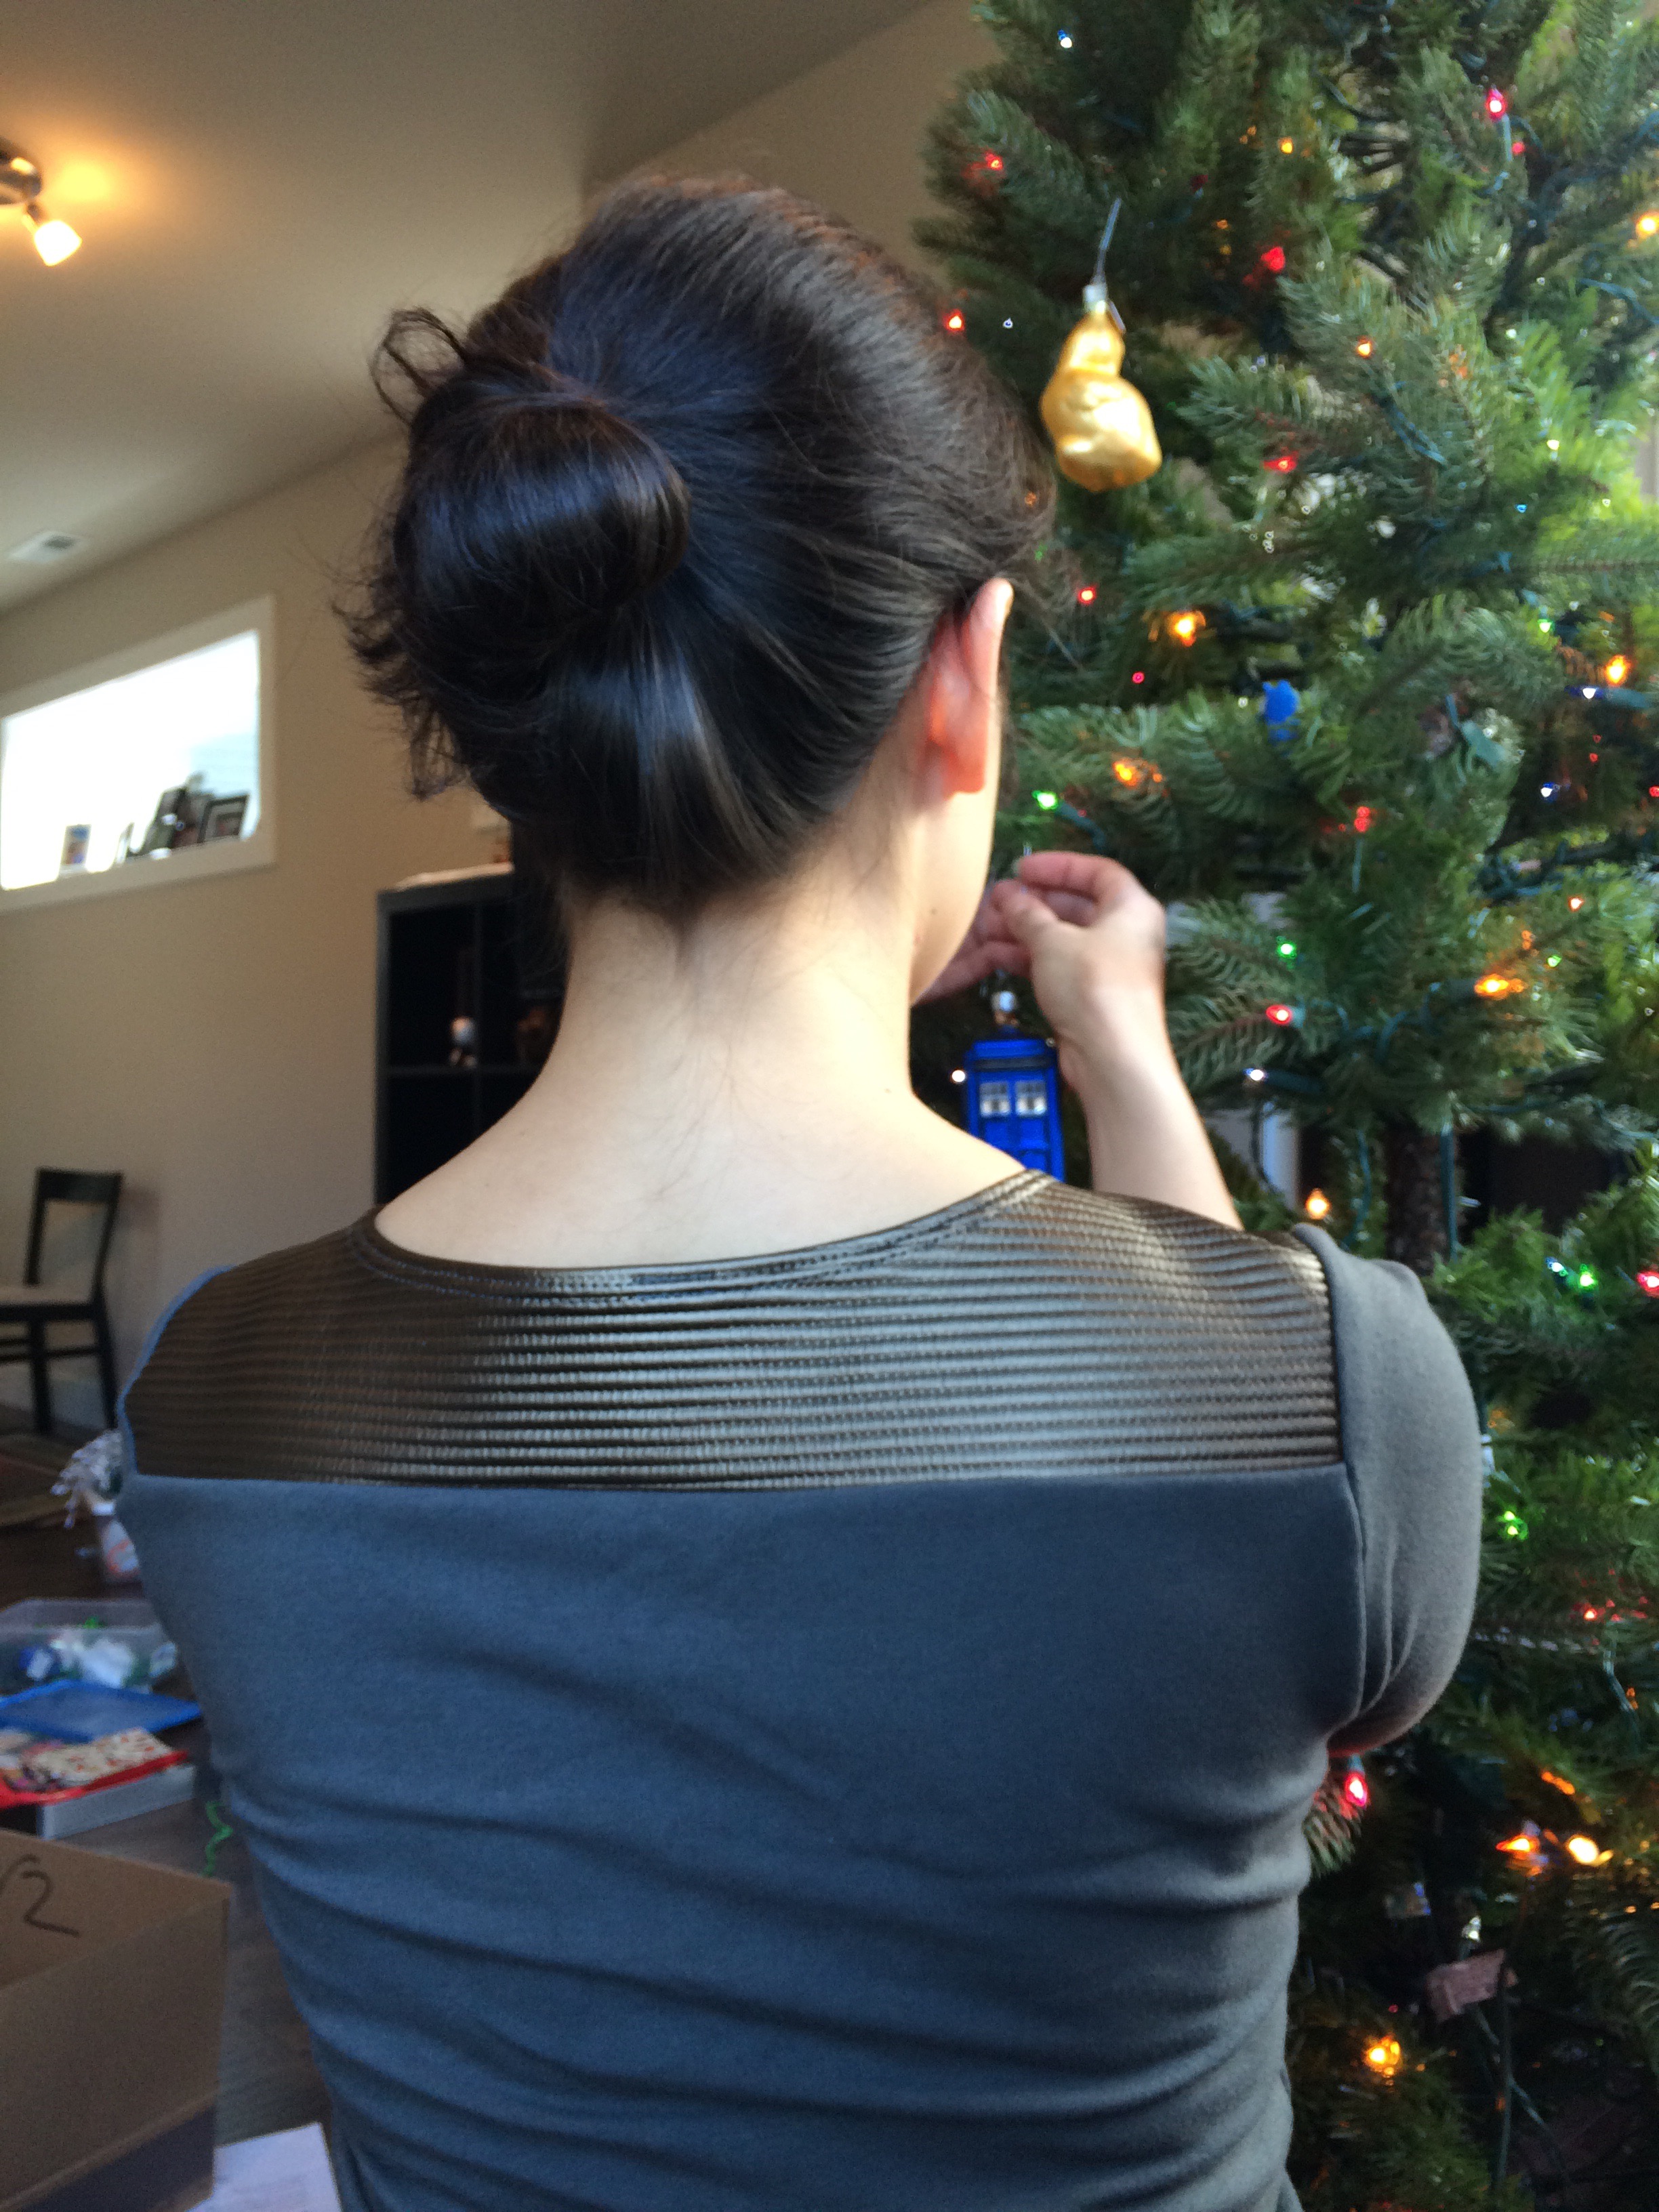
As for the color-blocked shoulders, I like the look of raglan sleeves. I think the angled seam narrows the appareance of my shoulders. I wanted the lines of the faux leather material to be parallel to the seamline, which is close to a 30-40 degree angle.
Suprisingly, the slight angle I had chosen for the front, made the lines on the back line up perpendicular to the grain, and run straight acorss my back. I was originally just going to cut out the soulder pieces, but the bakc neckline was not as deep as the front and the angle didn’t look right. So I used the parallel lines make a back yoke.
Then I decided I did not want the bulk of this fabric at the shoulder seam, so I attempted to make the shoulder color block one piece. (Removing shoulder seam allowance and taping the pieces together). If you make this alteration, don’t forgot to ADD seam allowance to the edges that connect to the yoke.
Garment Fit:
I made this in a (small). I am very glad that I added two inches to the length. These are not low rise jeans, but without the added length the shirt would have been uncomfortbale to wear. I’ve got a little bit of a sway back, and I never have made adjustments for it. You can see how much fabric pools at my lower back here.

The front, at rest, fits very well. The shoulder seams are in the right place for my wide shoulders and nothing feels uncomfortably tight.

But I learned while decorating the tree that the shirt was still shorter than I would like. While I like my collar bone, I don’t like my stomach, but I share this for the other sewists who might be wondering how the shirt feels in everyday activities. Before leaving for game night, I put on a lace cami under Astoria to help conceal things when I reached across the table.
It might be that the waistband needed to go up a size. Afterall, it is designed to sit at my natural waist, not my hips. The shirt does not feel too tight around my waist, but the waistband does hug my hips.

Considering how quickly this shirt came together, I can easily justifiy making another version in the future and I’ll have a chance to play with the fit again.
Have you made Astoria? What is your preferred shirt length? Does it change between knits and wovens?
Happy Sewing!

What a great idea, really love the effect.
I love what you did with that yoke! It looks so nice! I also lengthen this pattern when I make it by about 3 inches. I have one version that’s really great and one that rides up.
Do you think the type of fabric affects the tendency to ride up? I’ve been wondering if I should have widened the waist band as well as lengthen in.
I think its the placement and width of the waist. With my better-fitting Astoria, I made it as-is and then fixed the waist band piece by making that longer without changing the bodice. The second time around, I made the bodice longer but I didn’t widen the waist and it rides up. I can feel that its too tight when I wear it.